
Ever heard of the “Canon Hack Development Kit (CHDK)”? If you have, I bow before your superior geekiness. I had never heard of it until I decided to research how I might be able to use my Canon PowerShot S95 to shoot in time-lapse mode. Out of the box, this otherwise highly competent point-and-shoot (P&S) won’t allow you to automatically take a series of photos at set intervals.
Enter the CHDK, a collection of free software that extends the firmware of many Canon compact digital cameras – but not digital SLRs – and adds capabilities to those cameras that go far beyond their out-of-the-box features. One key feature of CHDK is that those enhancements are non-destructive and non-permanent. The camera’s original firmware is not altered, and the CHDK programs can be easily and permanently removed at any time. Here’s a brief FAQ about CHDK that documents some of the enhancements.
Well, that’s the theory, anyway. And to be honest, I couldn’t find any verifiable instances where someone had hurt, let alone ruined, their camera by installing CHDK. Still, the concept and processes are inscrutable enough to give one pause before diving in. Heck, I thought about it for all of about twenty seconds before I got busy rewriting the innards of my camera. (Don’t try this at home, unless you really want to.)
I thought I might post a full how-to article on installing and using CHDK, but there are plenty of good articles on the web and there’s no reason to invent the wheel. If you’re a Mac owner, this is a good resource; here’s another that’s geared for Windows users.
It might be helpful to understand the basic concepts, without going into all the gory details, so here’s a quick summary of the process:
- Right off the bat, you need to determine the version of firmware your camera uses. This is critical to ensuring that you install the proper version of CHDK. For me, the perfect solution was ACID – the Automatic Camera Identifier and Downloader. This free program, available for OSX, Windows, and Ubuntu Linux, is an all-in-one firmware identifier and CHDK downloader program. Once you download and install ACID, you can discover your firmware version simply by dragging a photo from your camera’s SD card into the ACID program’s window. The program not only identifies the firmware, it provides a link for downloading the proper CHDK for your camera.
- You need to have a properly formatted SD card onto which the CHDK can be installed. I found another free program called SDMInst that performed that task for me with just a few click. Note that this program works only with OSX, but I’m sure there are other similar apps for Windows.
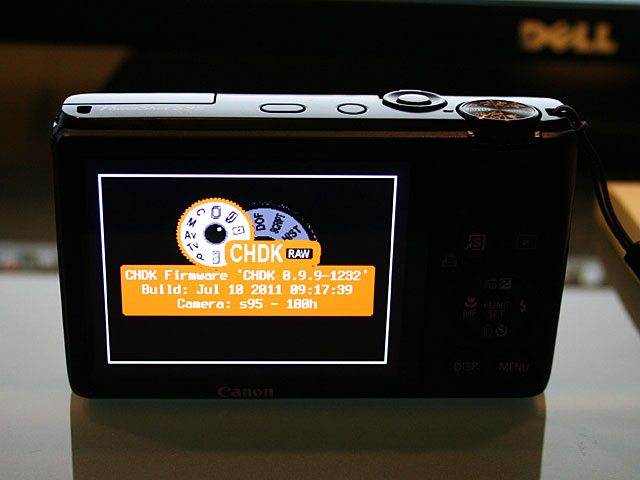
- After the CHDK is installed, the SD card must be locked (you’ll still be able to take photos); I think this prevents the programs from being overwritten by the camera’s firmware, but that’s just a guess. Once this is done and the card is re-inserted into the camera, you can confirm that installation was successful by the appearance of a new boot-up screen that appears briefly on your camera’s LCD screen. Here’s what mine looks like:
In addition, the CHDK installs a new menu screen that’s accessible by pushing a series of buttons on the camera. On the S95, for example, pushing the print button followed by the menu button brings up the following menu:
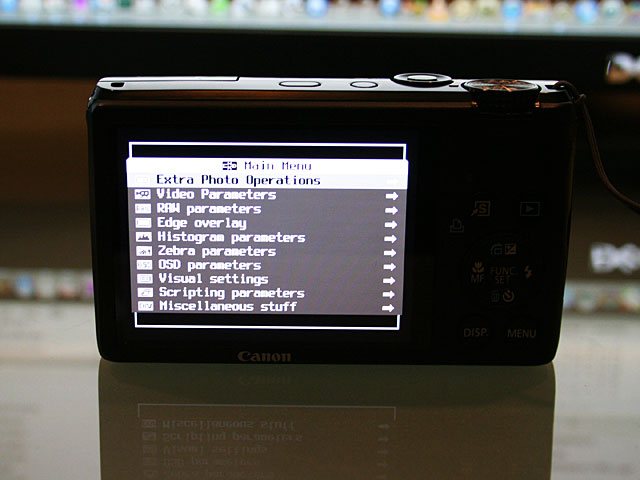
I have no idea what most of these do, because I haven’t had a chance to research them. But the sub-menus provide an inkling of their capabilities. For example:
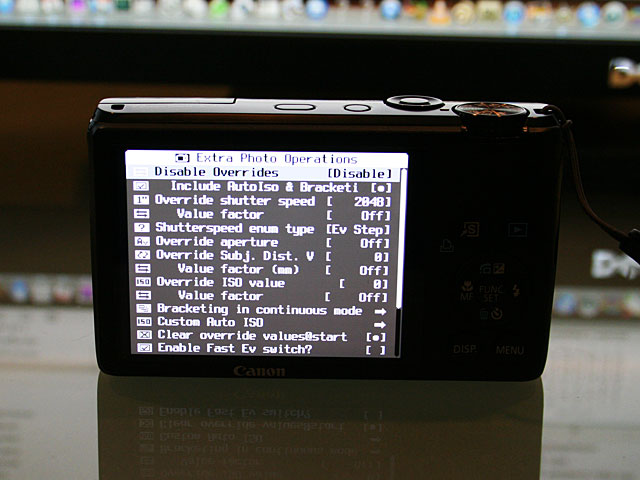
This particular sub-menu allows you to override the camera’s factory settings for things like ISO, aperture, and shutter speed. And, again, anything you set on this menu is reset to the factory default as soon as you turn the camera off, so there’s no danger of permanently altering the configuration.
Just for comparison purposes, here’s the default menu screen, pre-CHDK, on the S95:
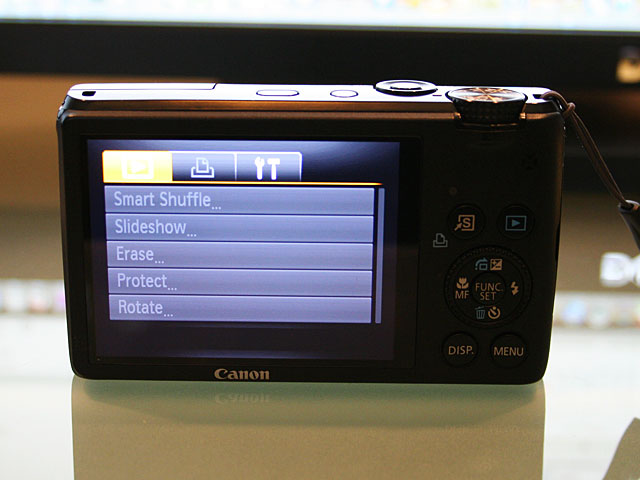
Boring, huh? Prettier, yeah…but still boring.
Now that I’ve got it, what do I do with it?
As I mentioned at the beginning, the reason I embarked on this weird journey was to figure out a way to equip the S95 with time-lapse photo capability. So, installation of the CHDK is simply a means to an end.
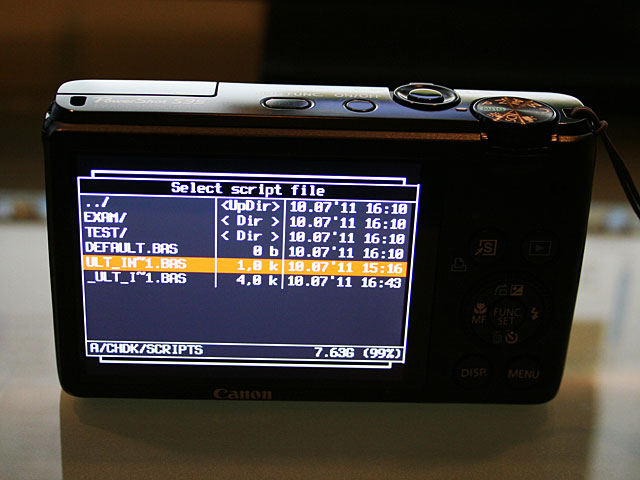
The final step in my quest to equip my camera with automatic time-lapse capability was to install an intervalometer script into the CHDK. Ultra Intervalometer is such a script, a free uBASIC program that’s easily installed by simply downloading and copying into the Scripts folder in the CHDK directory on your camera’s SD card. Once installed, you have to manually load the script via the CHDK menu each time you use the camera. Here’s the menu screen highlighting the script that will activate the time-lapse program:
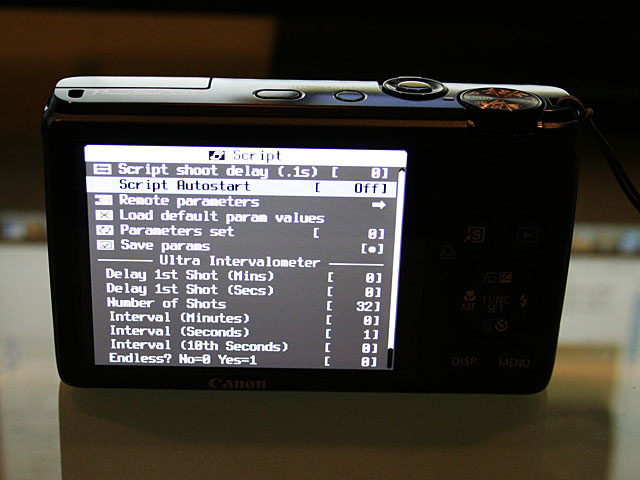
Once this script is loaded, the following parameter screen is used to configure how you want the time-lapse production to proceed: you can set the number of shots (or specify unlimited), the time interval between shots, and how long a delay you want before the first shot is taken (thereby kicking off the time-lapse; this would be helpful if you want to start the program in the middle of the night without having to actually get up and press the shutter button). Here’s what the parameter menu looks like:
The benefit of using a digital camera for time-lapse photos vs. the GoPro is that I can use the digicam’s built-in settings for flash and autofocus, as well as taking advantage of the zoom lens.
I’ve done a very rudimentary test of the time-lapse capability and it does work as advertised. I’ll post a better example at some point in the future, as well as share any additional cool applications that might be useful via CHDK.
By the way, you can write your own CHDK scripts, if you know BASIC (I don’t), and load other scripts if you know how to use a browser (I do).
Discover more from The Fire Ant Gazette
Subscribe to get the latest posts sent to your email.