
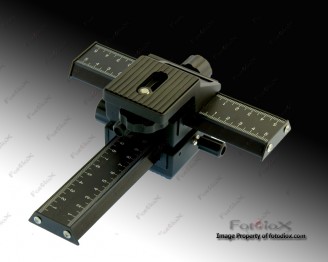
I received several awesome Christmas gifts, including a new iPad air, a high-powered flashlight, and a set of electronic shooters muffs, but not every cool gadget is hi-tech. Take, for example, this macro focusing rail:
One of the challenges of macro photography is the shallow depth of field, meaning that often only a tiny portion of the subject is in focus. This situation can result in some very striking photos, but sometimes you want to capture the entire subject.
One way to do this is to take several photos, each of which is focused on a different part of the subject, and blend them using a program like Photoshop. This technique comes with its own challenge, and that’s the difficulty of precisely focusing on different places of the subject. In an extreme closeup, even the photographer’s breathing can inadvertently affect the focus area.
This problem is solved by using a tripod, but making micro adjustments in the distance to the subject can be tricky. That’s where a focusing rail comes in. It attaches to a standard tripod and then the camera attaches to the rail. You then use the knobs on the rail to move the camera backwards and forwards (as well as side-to-side). This allows for very precise and uniform refocusing on the subject.
I haven’t had a chance to do much with the new gadget, but I did create a simple demo that shows a bit of what it can do.
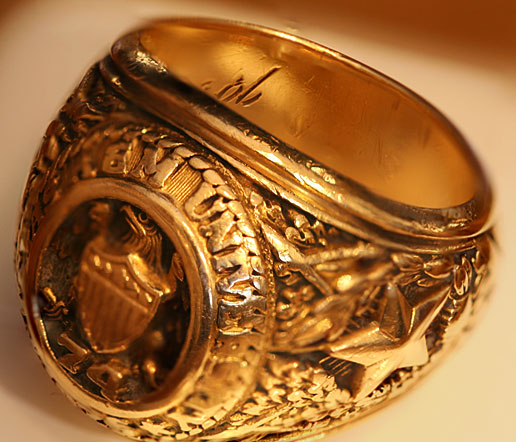
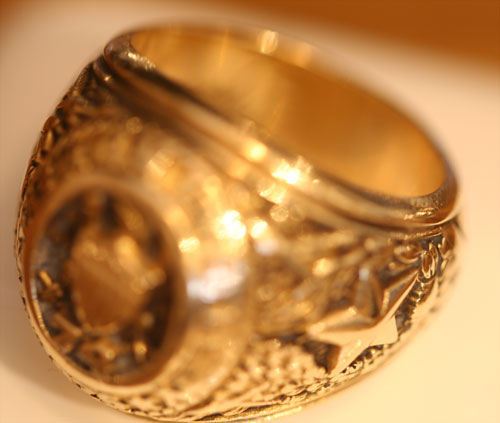
First, here’s a sample macro photo of my Aggie class ring (ain’t it a beauty?).

It’s not a bad photo – has a pleasingly artsy look – but what if I wanted more of the details of the ring to be in focus? More like this, for example (ignore the year on the ring; I’m sure that’s a typo):
This photo is actually a blend of the following images:
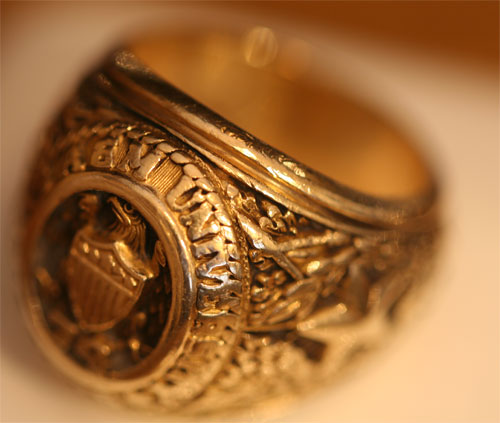
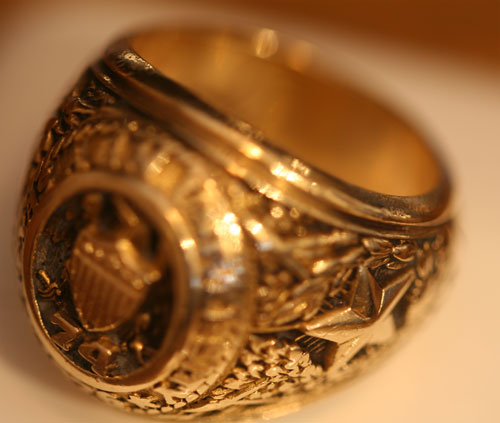
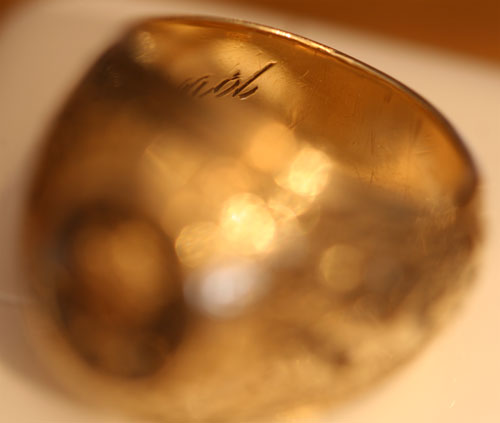
Each succeeding photo was taken after turning the knob on the rail a fraction of an inch to move the camera closer and bring a different part of the ring into focus. I also used the timer on the camera to avoid even the slightest shake.
I then imported these four photos into Photoshop using Adobe Bridge’s “Load files into Photoshop layers tool” (I could have also used Photoshop’s “Load Files into Stack” command found in the Scripts menu). I did some minor editing to try to make the various images the same size (as you move the camera closer, the resulting photo will be a bit larger), and then applied the “Auto-Blend Layers” command (found in Photoshop’s Edit menu). The first ring photo shown above sprang into being.
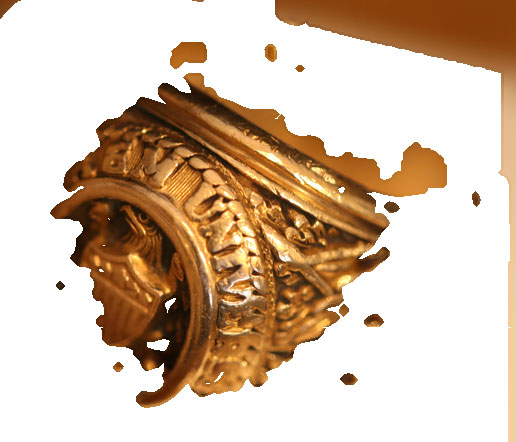
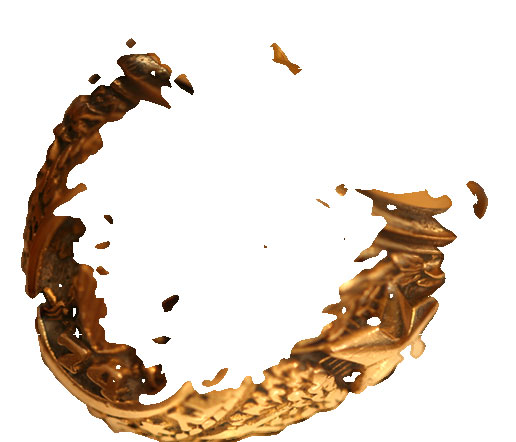
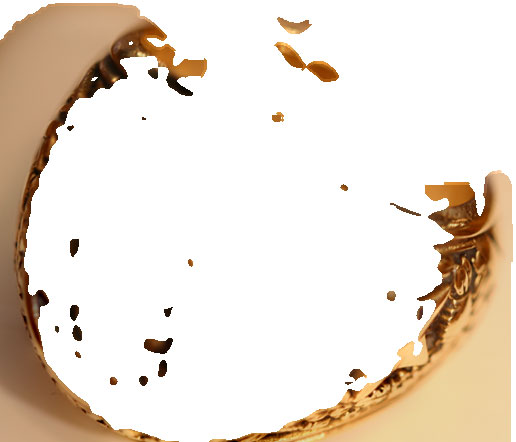
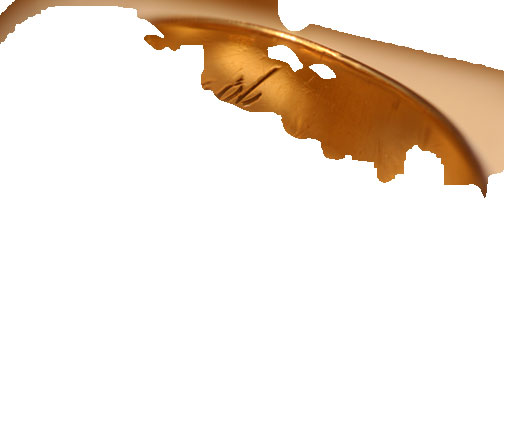
I found it interesting how Photoshop decided which parts of each photo to use in creating the composite image. Here’s how each layer looked after the Auto-Blend command was applied:
Once again, the magic of Photoshop is somewhat baffling. But it’s even more awesome to consider that focus stacking pre-dates digital photography; I can’t imagine accomplishing this in a darkroom.
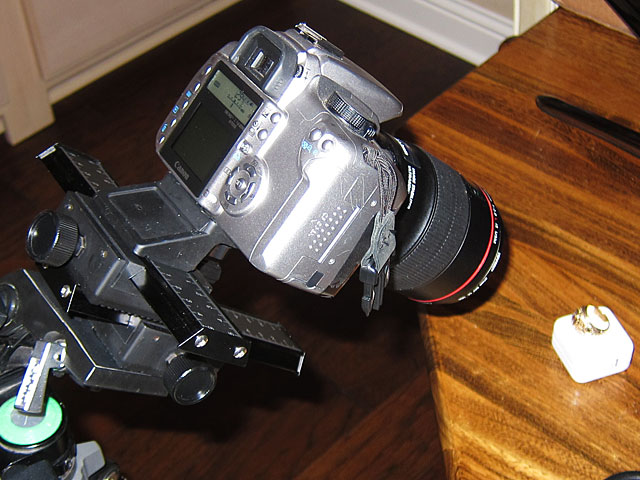
In case you’re wondering, here’s how the camera and focusing rail setup looks:
Oh, and I must give credit to this brief tutorial on PetaPixel for clarifying exactly how to use Photoshop for this technique. The more I learn, the more I understand how little I really know.
So, if you’re contemplating trying your hand at macro photography, even an inexpensive focusing rail will give you more flexibility, whether or not you plan to use the blending techniques described in this article.
Discover more from The Fire Ant Gazette
Subscribe to get the latest posts sent to your email.