
My latest DIY project was pretty simple but still intimidating as it involved drilling holes in our custom built-in cabinetry. As my pal Gene and I discussed over breakfast this morning, you can’t uncut lumber or undrill holes (well, I can’t), so measuring twice was just a starting point for me.
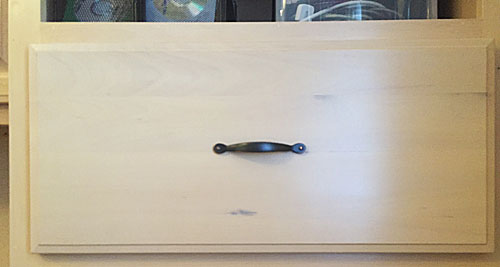
Here’s one of the unsullied drawers into which I wanted to install a keyed lock:
And here are the components of the “simple” cylinder lock, which is a 1 3/4″ lock in Antique Brass finish to match the drawer pulls:
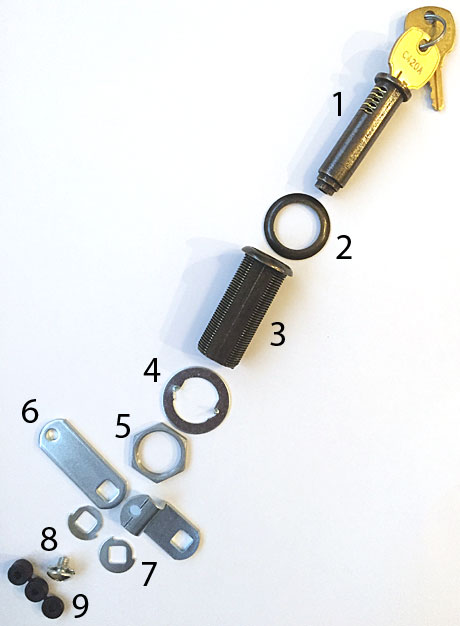
Thirteen pieces to deal with, and no instructions came with the locks. However, the website for the seller, Rockler, did provide a link to a PDF entitled “Technical Data” which did give some crucial measurements for placement of the hole and some subtle suggestions for installation. In addition, the plastic bag in which the lock was shipped had another link to the manufacturer’s instructions, although they also were sadly lacking in detailed explanations of how all the parts should be assembled. But, between the two documents and my own keen intellect, I was confident that I could figure it out, and if I couldn’t, I’d just superglue the lock plate over the hole I drilled and no one would be the wiser.
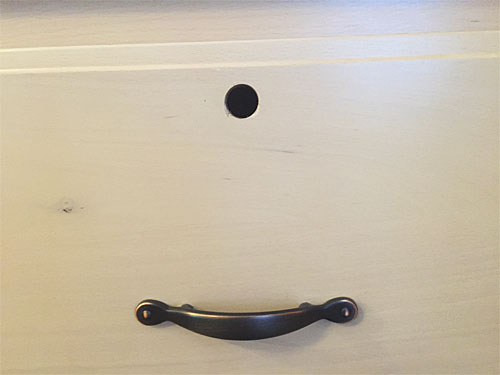
After measuring about a half dozen times, I marked the center point of the hole with a punch and began drilling a 3/4″ hole. I used a Porter Cable Forstner bit, partly because it drills a really clean hole, but mainly because it’s expensive and I rarely get to use it.
I also discovered that alder wood is very slow drilling. The experts say it’s one of the softest hardwoods, but if that’s the case, I hate to drilling many holes in the hardest variety. In any event, the hole was drilled:
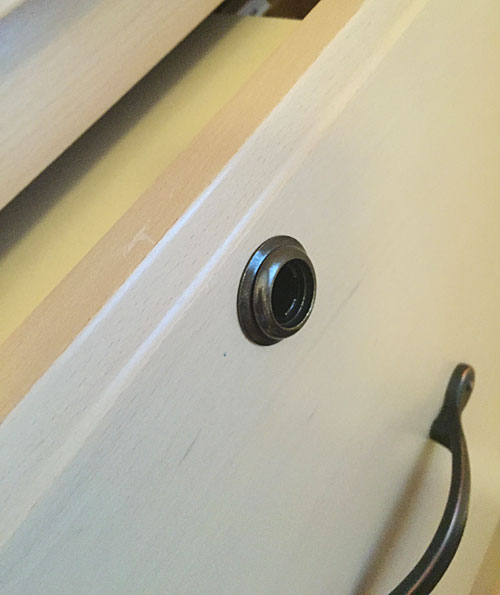
The first installation step was to slip the trim washer (#2 in the first photo above) over the cylinder tube (#3) and insert the tube into the hole, like so:

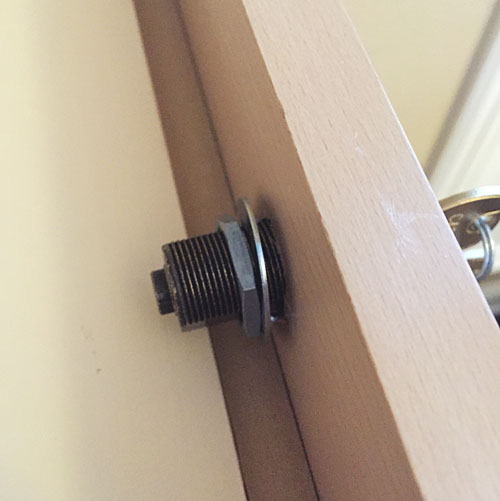
The next step was to insert the lock cylinder (#1) into the tube (leaving the key in it to stabilize it), and then slide the spur washer (#4) over the cylinder tube and tighten it firmly against the back of the drawer with the hex lock nut (#5). Use the key to hold the cylinder in place while you tighten the lock nut. The teeth of the spur washer bite into the wood and ensure a tight, unmoving fit.
This is where is got a bit tricky, as ideally you’d have three hands to accomplish the next steps. I was lacking both a hand and any logical concept of what I was doing.
Part #7 are two types of stop washers, one of which allows the locking mechanism to turn 90º and the other allows it to turn 180º. Frankly, I couldn’t figure out an application for the latter, but I’m sure there’s a reason it’s included. I chose the 90º version, which is the one on the right in the photo of the components. It slides over the end of the cylinder and must be positioned just so in order to allow the cam (#6) to rotate to the proper position (locked vs. unlocked).
You’ll note that there are also two choices of cam, one for cabinets or drawers that overlap, and the other for those that close flush. Our drawers overlap, so I used the longer, flat cam.
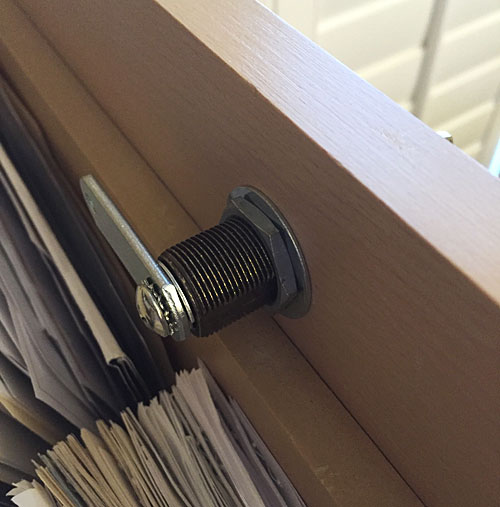
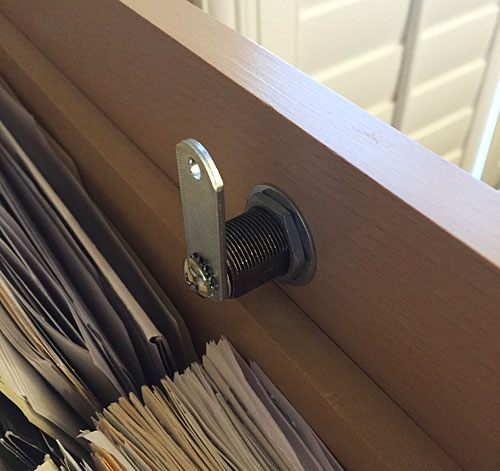
Once the stop washer and cam are in place, they are secured with the machine screw (#8). Again, it’s important to use the key in the cylinder to hold things in the right position, but that means it’s also very easy for the cam and/or stop washer to slide out of place while attempting to tighten the machine screw. I gave my mental vocabulary a workout while getting this done. But here’s the final result; the top photo is the unlocked position and the locked position is in the next photo.
As you can tell, I didn’t bother emptying the drawer before I installed the lock. I did put masking tape over the back of where the hole was drilled to minimize splintering, and inserted a manila folder over the files to catch any sawdust, but it turned out to be a pretty clean process…on that side, anyway. Forstner bits generate a lot of sawdust, though.
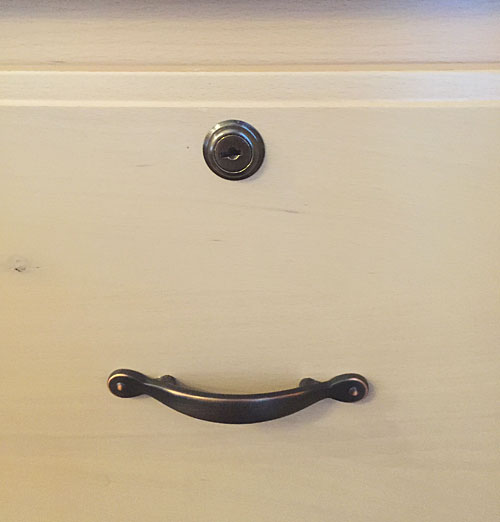
MLB and I were quite happy with the final installation. The lock mechanism was a perfect fit (but there are some spacers [#9] that can be inserted in the hole in the cam to ensure a tight fit if the thickness of the drawer or cabinet is slightly less), and the lock feels very secure. I definitely recommend this application for everything from childproofing to securing personal documents and/or office equipment from “thefts of convenience” (obviously, they won’t stop a determined burglar). In addition, you can get the locks keyed either individually or alike, depending on the level of convenience you want.
Footnote: Lest I ruin my well-deserved reputation as a DIY Disaster, I did end up with an uh-oh in the final installation. But I’m not going to tell you about it or even show it, because some things are better left as mysteries.
Discover more from The Fire Ant Gazette
Subscribe to get the latest posts sent to your email.